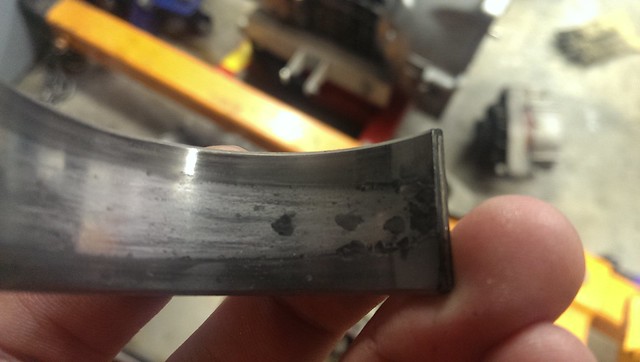
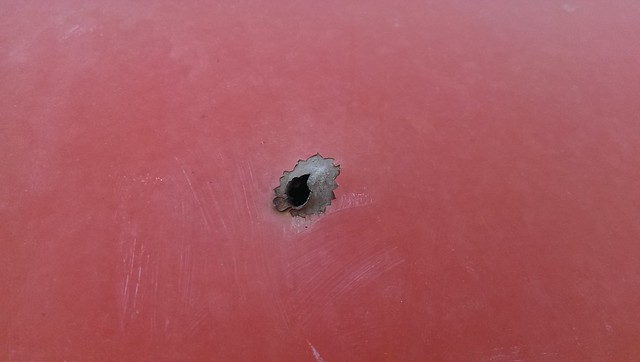
A few months after obtaining my E24 one of the clutch pressure plate supports snapped at about 5k rpm chewing up the inside of the bell housing(results below), at the time I was still not familiar with the car and regrettably after hours of work replacing the clutch I did not fix or even check the rear main seal, little did I know it got chewed up due to the vibrations from the clutch Causing it to leak a quart of oil a month. The transmission in this car is the 260/5 so I would need to replace the transmission to fix the bell housing witch I'm reluctant to do because it shifts perfectly.
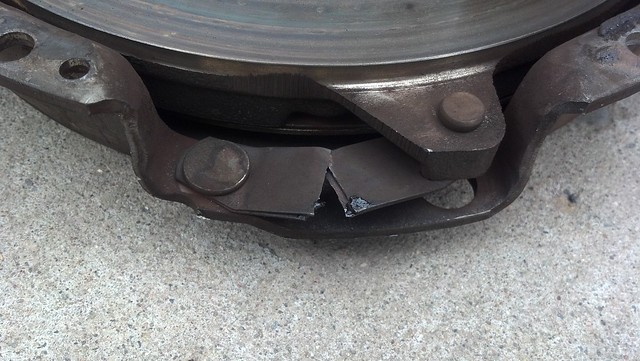
Never really seen anything like this...
The damage is the worst here.
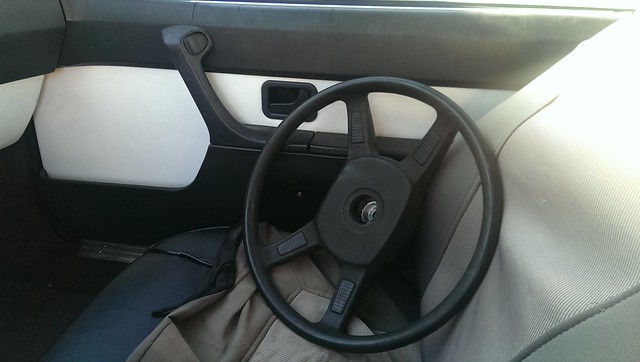
As I am a college student money is going to important things so replacing the dash with a new one from BMW for 700$ is out of the question for now. because of the major splitting in the dash I decided to fill the cracks and repaint it to make it a bit less noticeable until I can afford a new dash (might get a parts car for the interior). I sanded down the edges of the cracks and filled them with ridged foam sanded again then painted the result was much better than the original (however I feel like a silicone rubber sealant would have worked better). Replace the fuel pump and filter at this point.
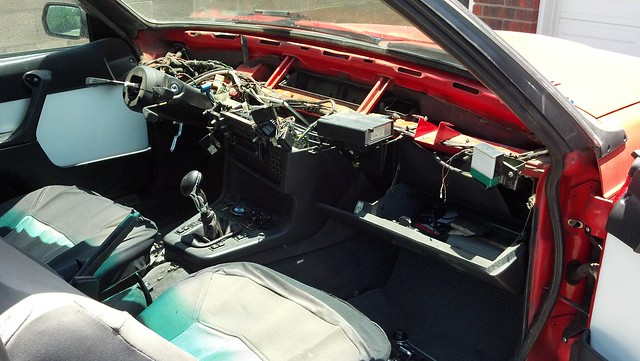
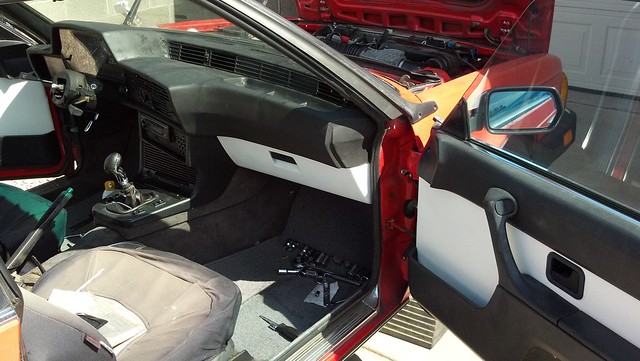
Car after the dash is removed, so meany wires.

Dash before sanding and filling cracks
Dash after sanding and filling cracks
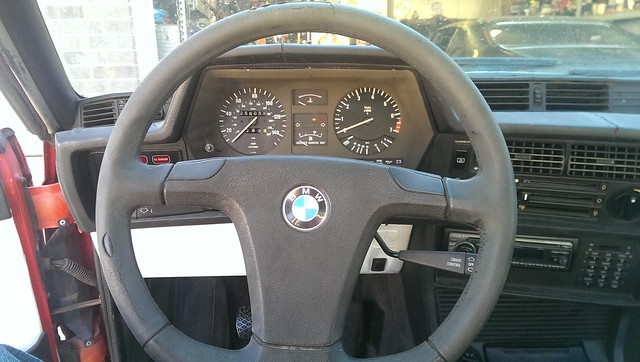
Dash painted and installed.
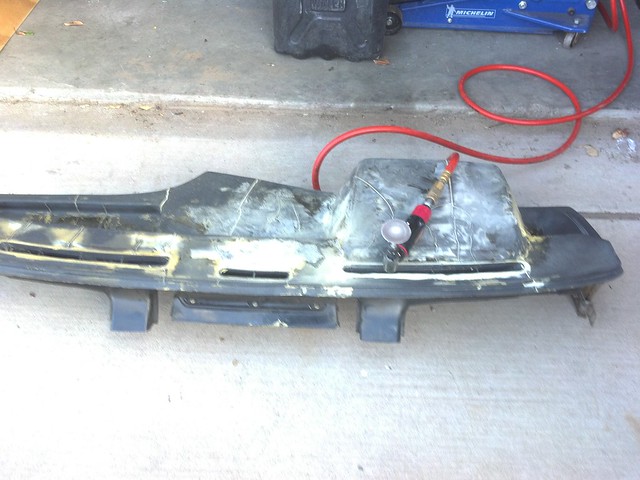
About 2 years into owning my shark I had a sudden and very pronounced loss of power, the car would only rev to 3k rpm and was very limited in power. After allot of searching and going through the electrical and mechanical systems the 20 year old custom cat back exhaust comes off, after driving it with open headers I concluded the cat was clogged. Reluctant to replace the cat I ran some pressurized water through the exhaust to see if there where anything large blocking the entrance or exit to the cat (this fixed the problem). I was surprised how much junk came out of that cat, Eventually it will be replaced however it passed emissions even with all the 80's emission junk removed.
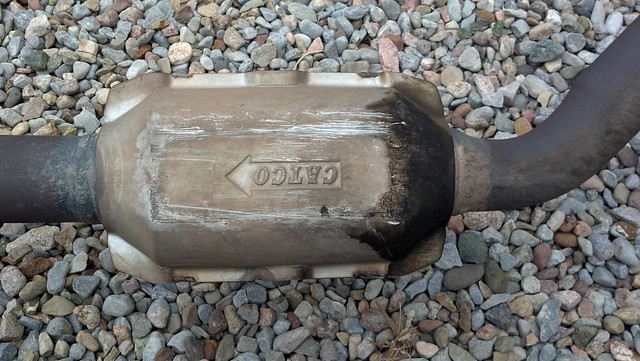
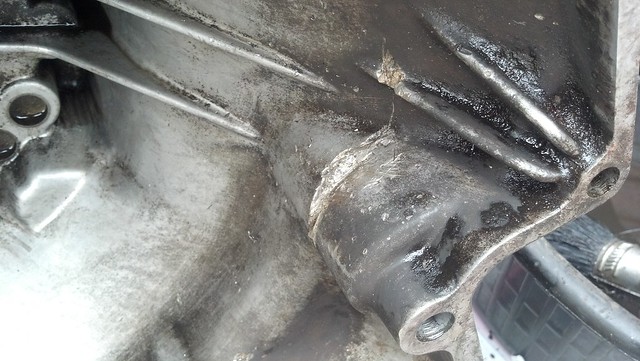
Oil from the leaking rear main collected on the cat
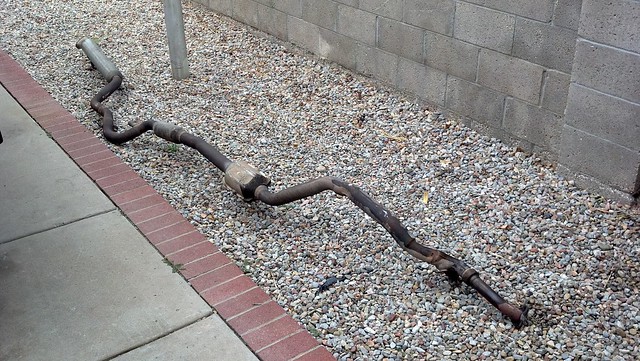
Full exhaust, Love the sound I get from this.
A few weeks after this I decided to hunt my idle issue (my idle wasn’t that bad just surged from 750-1000 every once and a while), after a while of hunting I found the TPS (throttle position sensor) connector had the idle lead completely separated from the solder joint this was repaired and fixed the issue completely. I also replaced some other possible failure points at this time including cap and rotor, oxygen sensor, and crank position sensors. During this process I pulled both the lower and upper radiator hoses and the radiator make room to replace the fan clutch, when reinstalling the lower hose I did not check the clearance to the water pump pulley (something I will now do).. After driving it about a mile the belt ripped a hole the size of my thumb in the hose luckily the local auto parts store was just a few feet away and they had the replacement hose I needed!
One MAJOR mistake I made was using the wrong o ring on the fuel pressure regulator, the one I used came from a o ring set I had laying around(I assumed it was a standard Fuel injector o ring). The o ring held for the first few weeks but about a month after replacing the fuel pressure regulator and the o ring it started to spray gas on the intake manifold (I was luckily my car didn’t go up in flames).
The o ring on the left is the one that leaked, the right is the correct o ring.
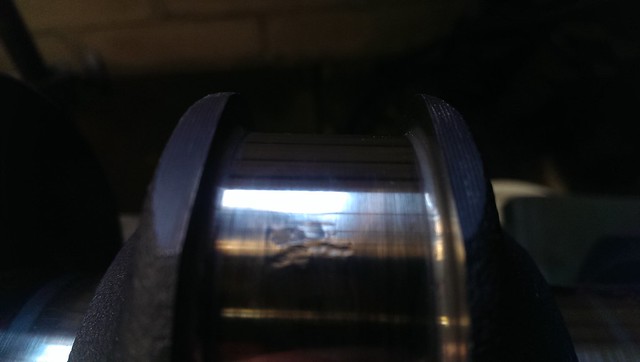
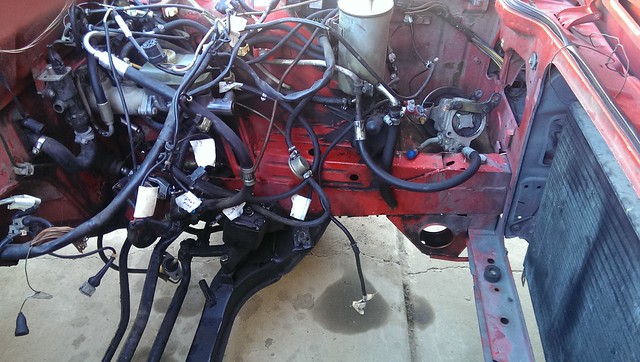
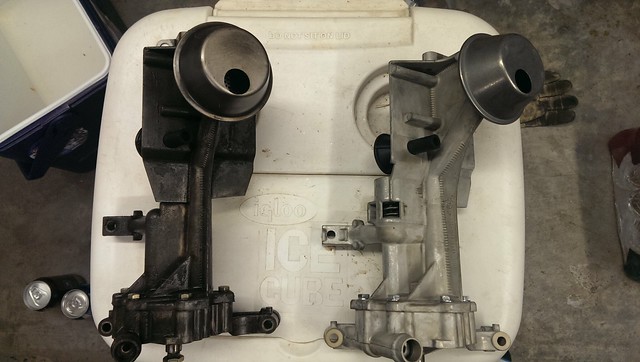
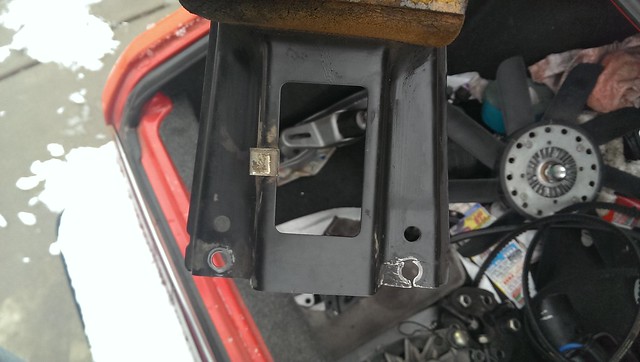
This brings me to the current project, rebuilding the amazing M30B32 powering my Shark. Before getting ready to remove the engine and transmission I took it to a car wash and sprayed down the engine and what I could reach on the transmission, they where both covered in oil from the rear main seal leek. This turned out to be a big issue. After this the car would not idle without me playing with the gas, after finally getting it back home (this was quite a challenge) I discovered that the oxygen sensor was shorting on the exhaust (I think this caused the idle problem but not sure). After removing the hood, ac compressor, alternator, radiator and labeling my wires the only thing left was removing the transmission bolts… Wish I would have known they where 2 different sized bolts because I ended of stripping every single m8 bolt using the M-10 Torx socket when putting them back on the first time I replaced the clutch. After hammering on M-7 Torx socket to remove the reaming bolts the engine was lifted out. The engine was stripped down and the head was sent to the machine shop to get rebuilt. Cleaning the pistons wasn’t hard I wasn’t expecting flat faced pistons (I should have knowing how low the compression is), there was a fair bit of carbon buildup but not bad for 260k miles After removing and marking all the pistons the crankshaft was inspected, unexpectedly the number 2 journal had some pits in it possibly from a previous rebuild It has been turned and I will just use oversize bearings. Last piece of headache for me caused by the vibrations of the old broken clutch, the shifter support cracked luckily a replacement was sourced from Bavarian auto!
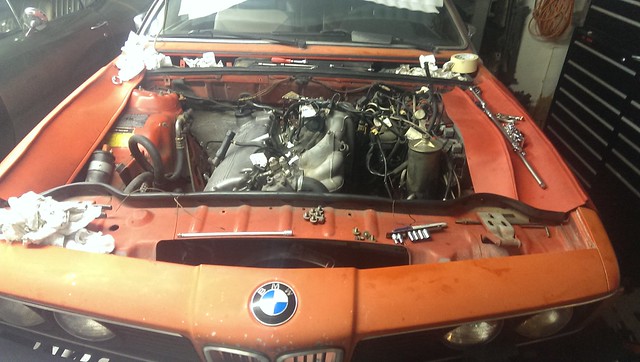
Got the hood off and wiring out of the way, Lets get it out!
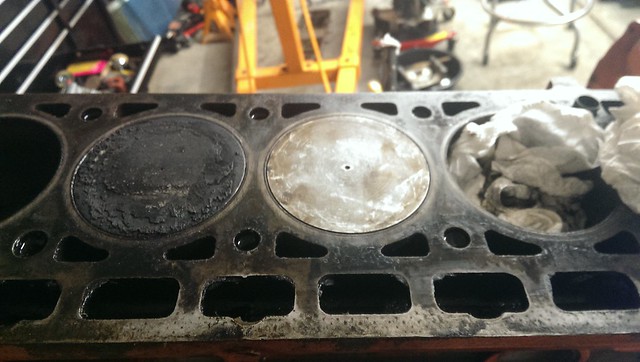
Number 3 all cleaned up, Number 4 not so much.
The bushing was in similar shape.
I measured the piston clearance and the roundness of the cylinders, the piston skirts are warn badly and all the cylinders are out of round. So new pistons and a bore is necessary. Ultrasound showed that the walls where 8mm thick just enough to go to 92.5mm however after reading some other threads on boring out that much material I have decided to go with .5mm over sized m30b32 pistons.
cylinder 1: Clearance = 0.0030 inches
cylinder 2: Clearance = 0.0018 inches
cylinder 3: Clearance = 0.0032 inches
cylinder 4: Clearance = 0.0031 inches
cylinder 5: Clearance = 0.0035 inches
cylinder 6: Clearance = 0.0035 inches
Note tolerance is between 0.0008-0.0020 inches.
Info that may be helpful regarding the m30b32 and m30b34:
Both the M30b32 and m30b3have the exact same; crank, connecting rods, and heads (note the heads are somewhat different using 2 springs per valve on the b34 and a different cam however the bare heads share the same part numbers)
New parts that have been delivered or that are shipping now:
new timing sprocket, chain tensioner and guide (not replacing the sprocket on the crank)
full gasket set
Drilled disks and new pads(The road I drive tends to overheat my breaks and warp them)
Shifter support, and mounting hardware
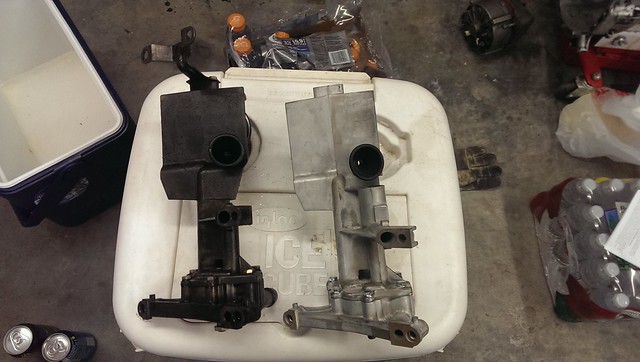
Oxygen sensor, oil pump and water pump
standard rod and main bearings (can't use these now anyone interested?)
connecting rods and bolts
MaxSil .5mm over pistons
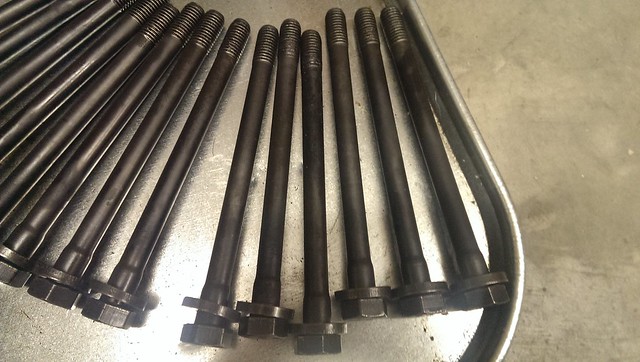
Now this brings me to a few concerns I have now. The first concerns the head bolts, are these the reusable kind or do I need to replace these?
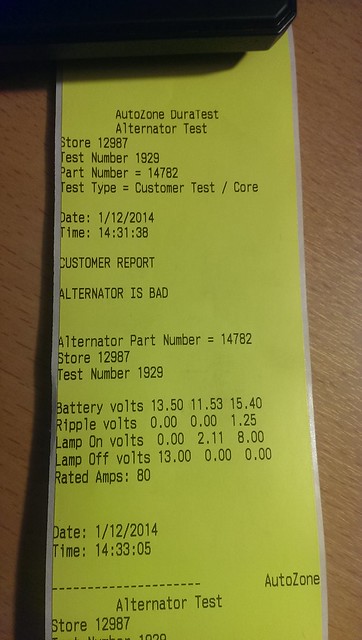
I was getting some odd loss of power issues (stereo would lose power lights would flicker) for the last 2 months my shark was driving and the voltage regulator failed the in car test, After replacing the voltage regulator and taking just the Alternator in for another test the alternator failed results below, Should I replace now or try in the car and replace later (I'm not sure they tested it correctly)?
Third issue I have is my sun roof is leaning forward on the driver side any idea what could cause this? Its the electric sunroof I assume its to do with the tilt mechanism.
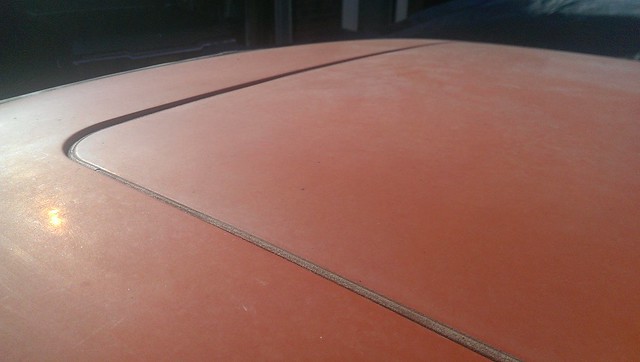
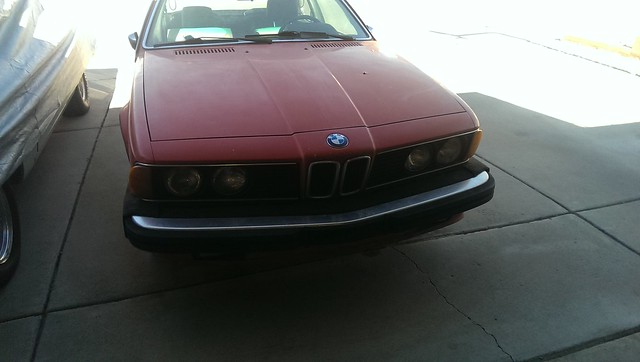
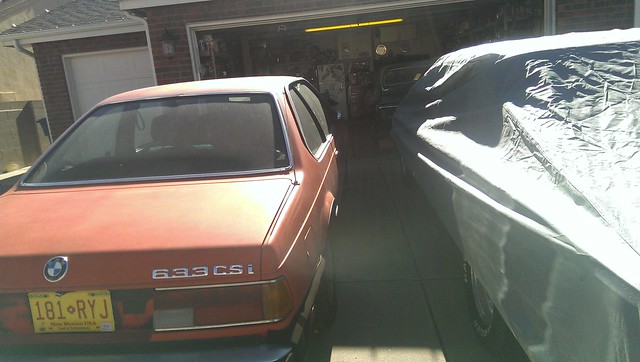
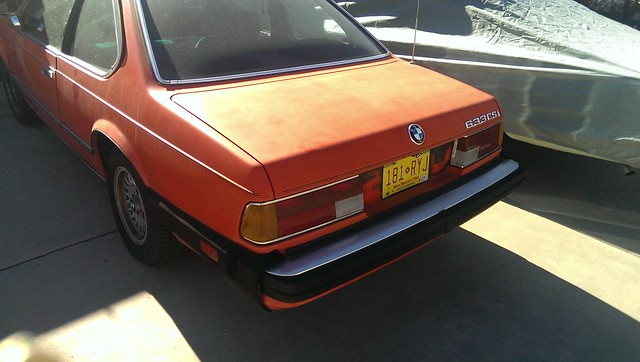
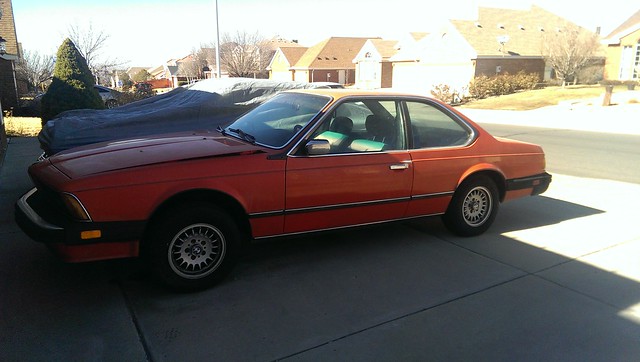
Excuse the paint she has been sitting for a month.
More to come soon as my parts come in.