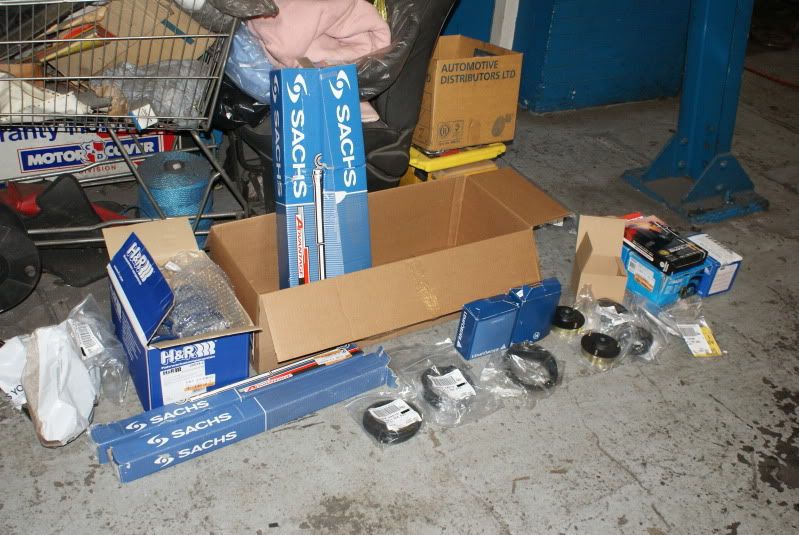
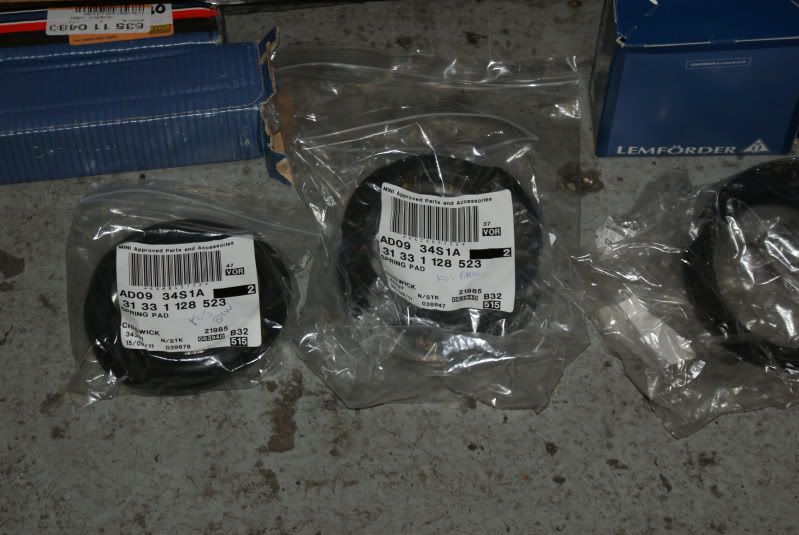
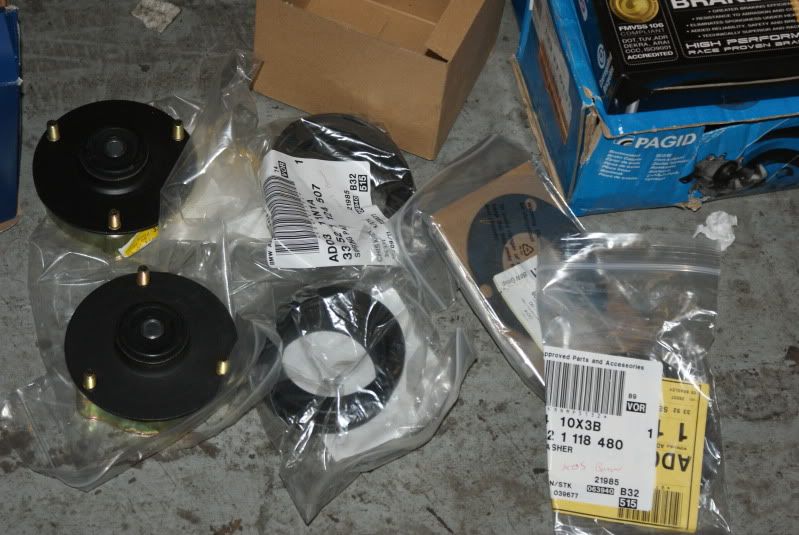
the shocks and springs were the first job we did, new top mounts, new pads/perches etc

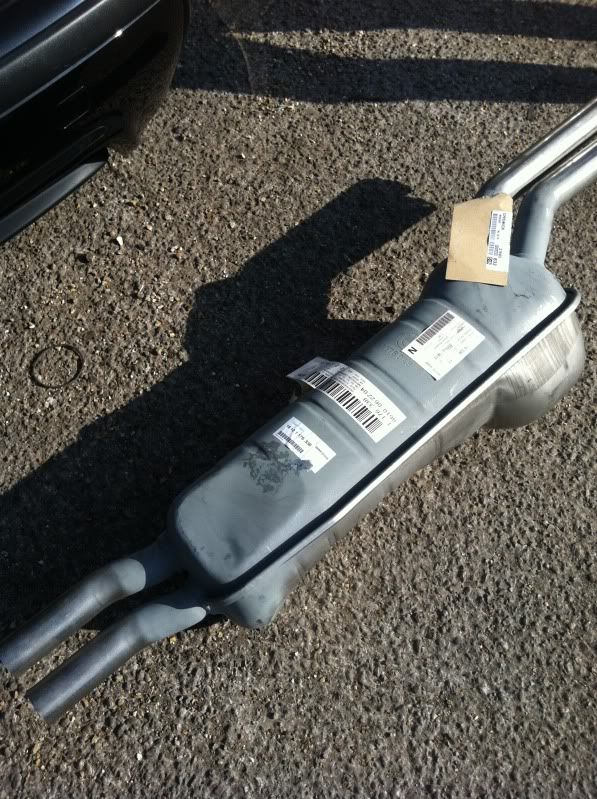
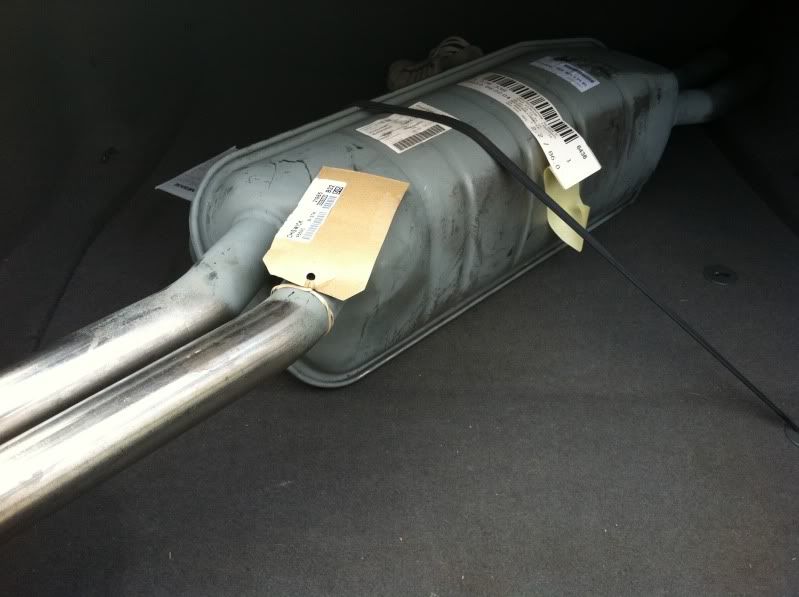
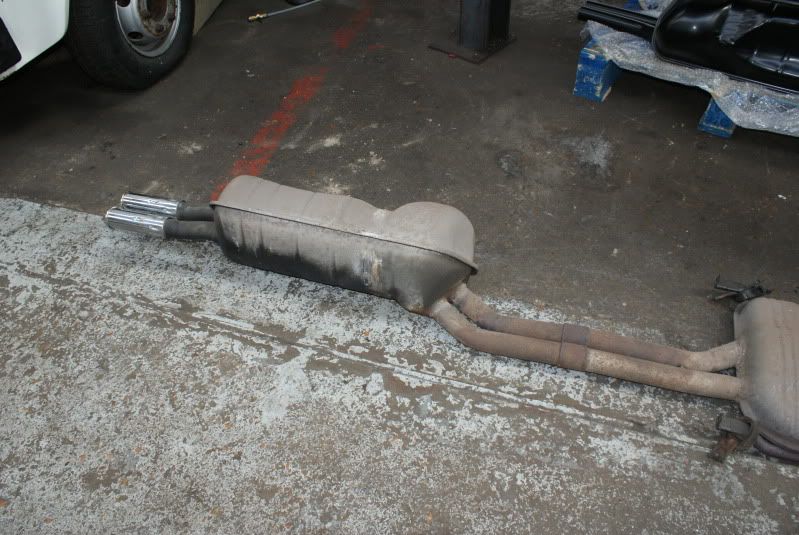
the exhaust as it came from the dealers
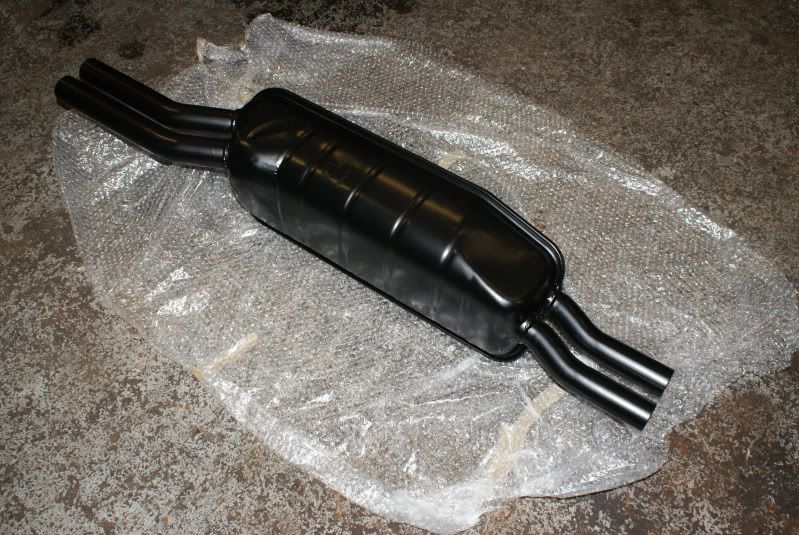
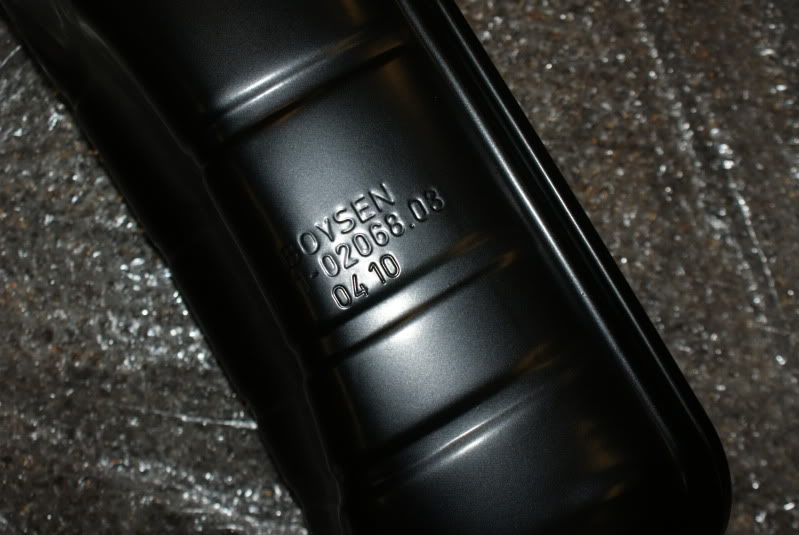
and powder coated black

the the system dropped down, you can make out the old welding sleeves. what we did is chop just after them, chopped a bit of the new back box and used the new BMW supplied clamps
the clamps

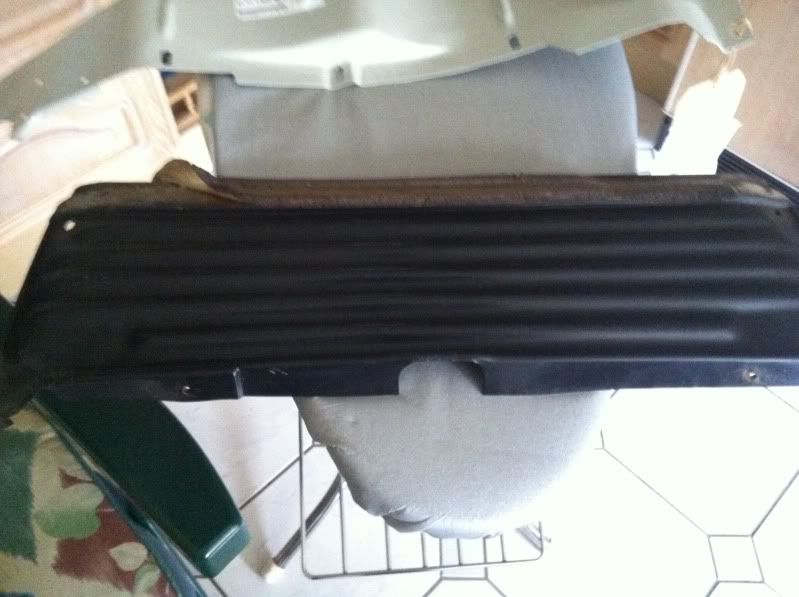
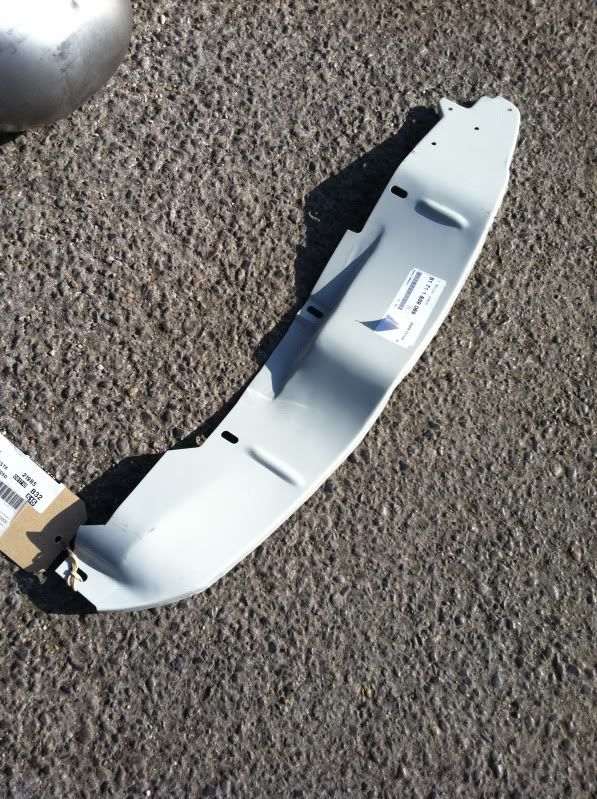
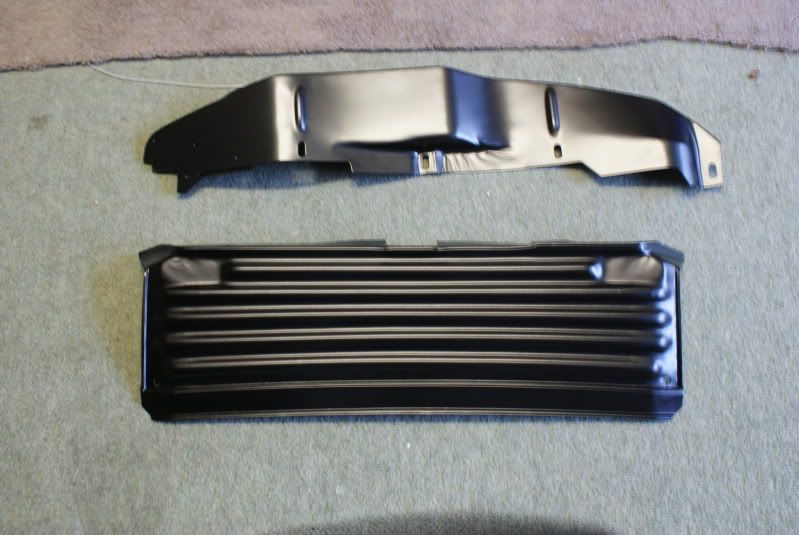
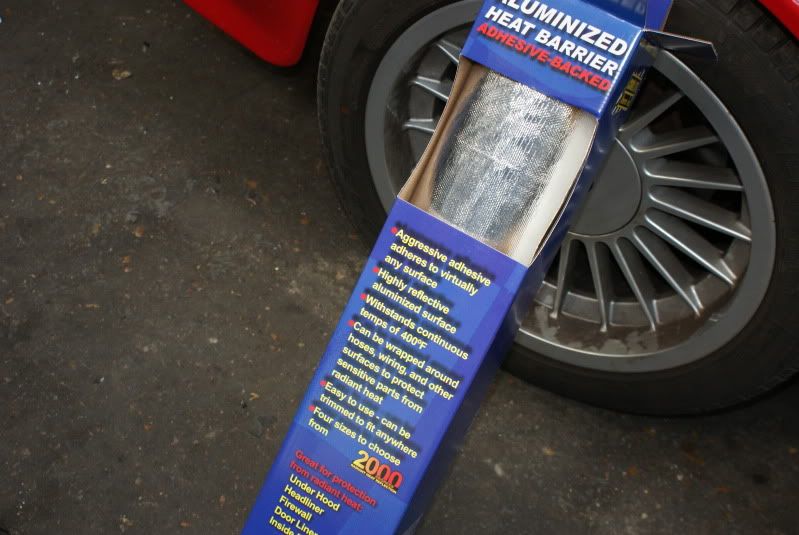
the original heat shield would rattle with the bass thumping, so it got binned and replaced with this
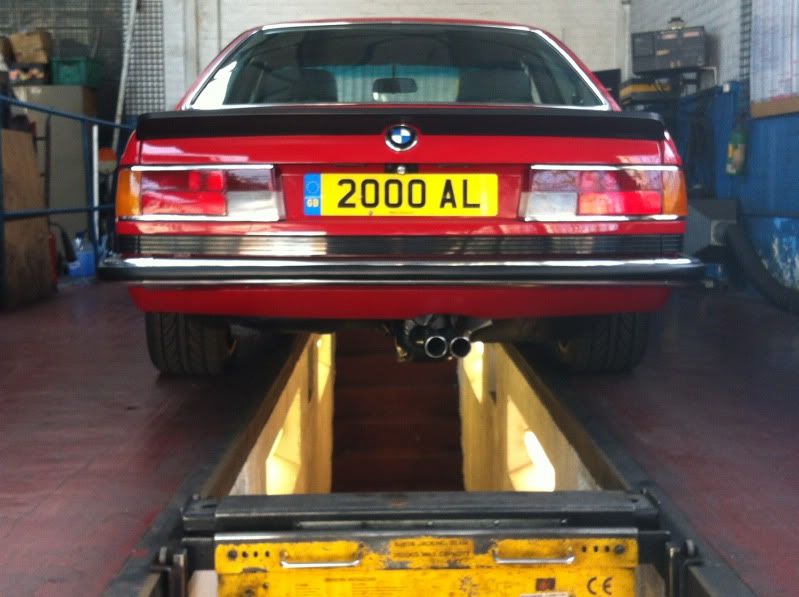
and then we fitted up the exhaust and made sure it was sat straight. while it looks like it may sit a but low, but thats how they are.
the new heat shield which is stuck on was silver so a quick squirt of some VHT black paint to make it less noticeable